Care for Sterling Silver & Silverplate
This page includes tips and instructions for polishing and caring for your sterling silver and silverplate.
Do Not Use “recipes” found on Line or liquid dips such as Tarn-X to remove tarnish:
Do not use SILVER DIP of any kind to remove tarnish (except for your fork tines.)
Do not use aluminum foil "recipes" found on line to remove tarnish.
These dips leave a white frosty appearance without polishing. The dips etch the surface (shown below.)
Silver left by accident in silver dips can be ruined. The dips leave an etched surface on sterling and will eat off silver plate.
If you forgot about your silver in the dip recipe, your only choice is professional polishing of sterling silver or new silver plating for plate.
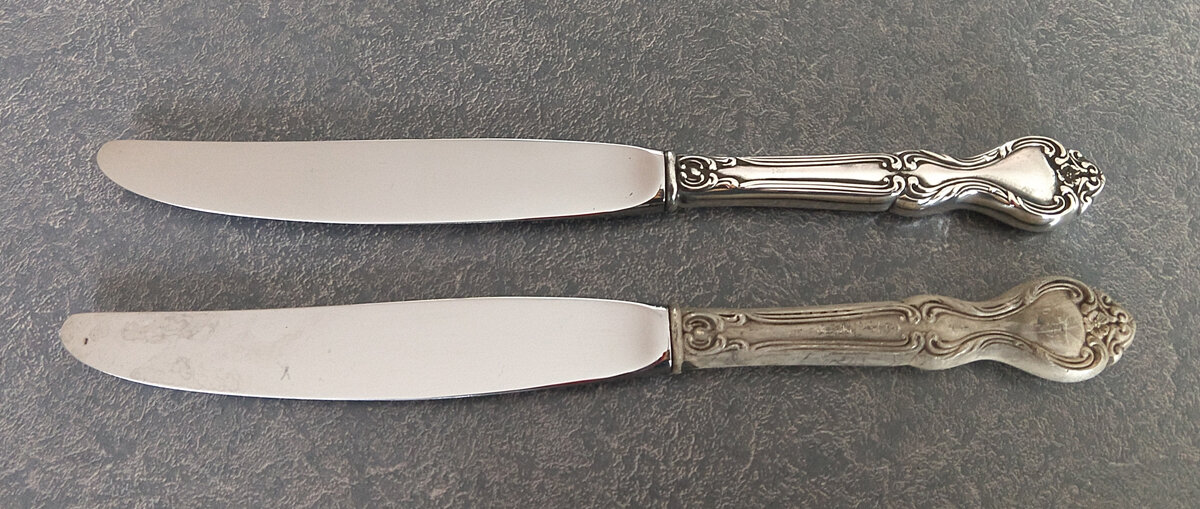
These knives (below) show what happens when people leave their silver in Tarn-X overnight by accident.
The sterling silver handle for the bottom knife was etched to an unattractive frosty white. This happened to the entire set. It took aggressive polishing to restore the silver finish (top knife.)
Polishing sterling & silverplate Flatware Forks, Knives and Spoons
STEP BY STEP for hand POLISHING SILVER & SILVERPLATE flatware (knives, forks and spoons)
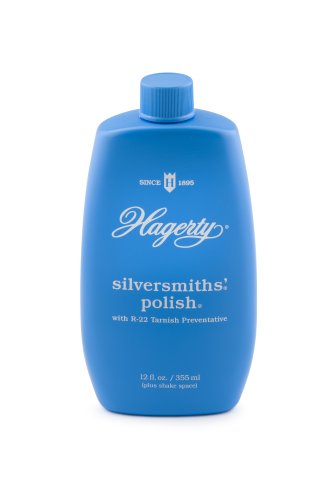
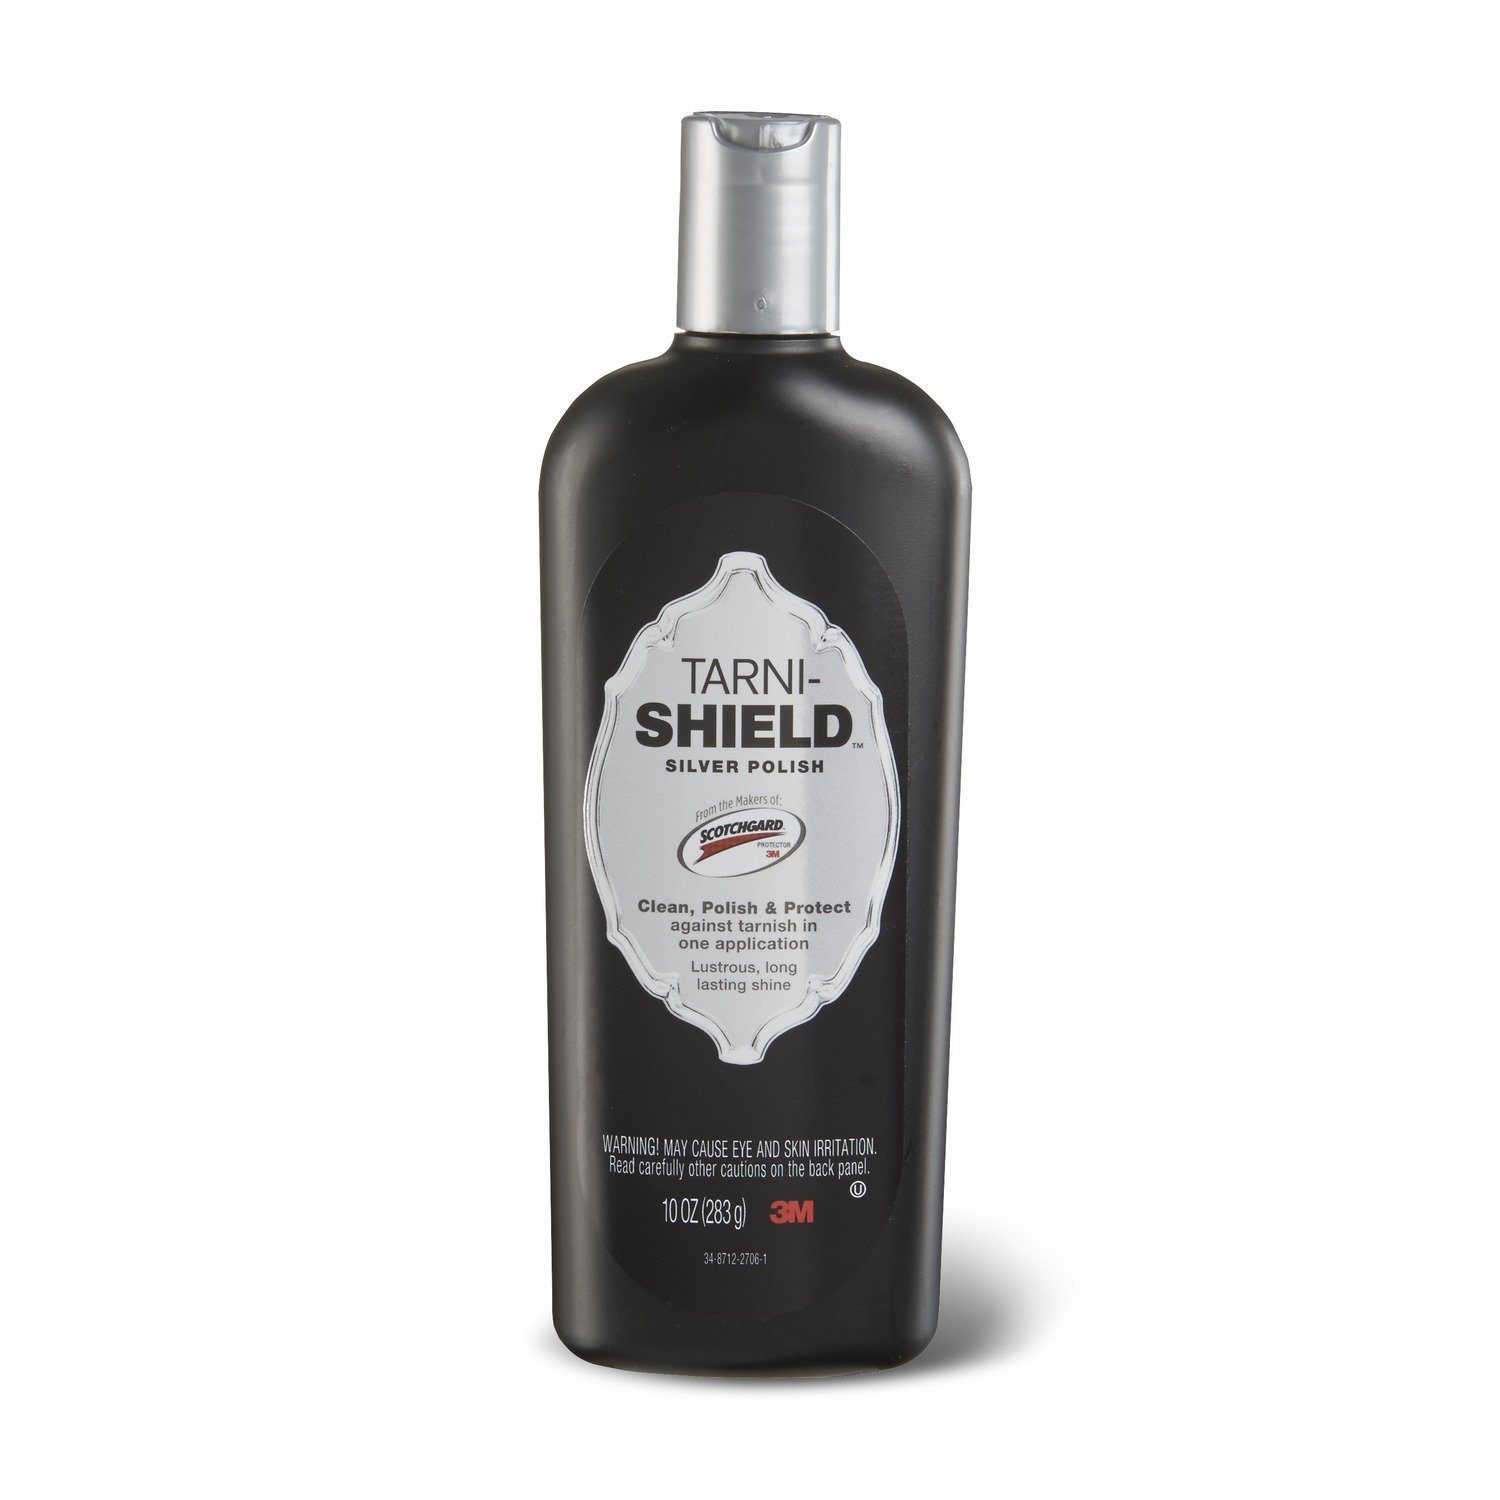
Step 1. Use quality silver polish (such as Hagerty's Silver Polish or 3M Anti-Tarnish Silver Polish. Hagerty's Fork Cleaner is suitable for removing the tarnish on fork times only. It makes it less likely you will stab yourself polishing the fork tines.
Step 2. Wear disposable gloves, if possible. Use a soft cloth for applying the silver polish and rub vigorous with this silver polish cloth. Rub each and every piece. This is very messy process.
Step 3. Rub and polish the silver with a cleaner soft cloth to remove most of the silver polish. Essentially the silver polish is "polishing" your silver.
Step 4. Wash all silver flatware that will comes into contact with food. (If this is decorative silver for display only, do not wash.) Use hot soapy water with dish washing detergent (NOT dishwasher detergent) and a soft sponge. Rinse. Dry on a towel. Then I dry and buff each piece again with a soft, kitchen towel to make sure that every fork, knife, or spoon is clean and dry before putting it away.
Step 5. Store flatware in a silver box, or drawer liner. Another inexpensive option is to include paper Hagerty’s Silver Protection Strips in a closed drawer or cabinet to prevent oxidation. Clean silver can wait ready for the next special occasion or every day.

Step by step polishing silver Hollowware
Hollowware includes silver objects such as coffeepots, teapots, sugar, creamers, etc.
Step 1. Use quality silver polish (such as Hagerty's Silver Polish or 3M Anti-Tarnish Silver Polish.
Step 2. Wear disposable gloves, if possible. Use make-up squares, cotton balls and Q-tips. (Make-up squares, cotton balls and q-tips are available at drugstores, Amazon or places like Target.) Avoid using a cloth or rag as they can be too abrasive. In addition, people are often too vigorous with a cloth - pushing and pulling on the handles.
Step 3. Use plenty of silver polish and let the silver polish do the work. This is a very messy process. Try to polish with your polishing motion in the same direction so the barely imperceptible polishing lines will all be in the same direction.
Step 4. When you are getting to a nice finish, wipe of the excess polish with your make-up pads, or cotton balls. Use q-tips for getting into the crevices. Nothing looks worse then dried up silver polish in the crevices. Wood toothpicks can also be helpful in removing polish from the crevices. and details. Take your time and enjoy the process.
Step 5. If this is a decorative object such as a candelabra that will not touch food, you are done.
Step 6. If this silver will be used for food, wash with dish washing detergent, and soft sponge. Dry with a soft cloth. A soft cloth is important. Some kitchen towels are too scratchy.
Step 7. If this is a hollow object like a teapot or coffeepot, turn upside down to be sure all moisture has time to drain and dry. Drying upside down overnight is best.
Look at the storage suggestions below for more information about storing your silver.
polishing silver candlesticks
Polish candlesticks and candelabra with great care to avoid breaking.
Step 1. Use quality silver polish (such as Hagerty's Silver Polish or 3M Anti-Tarnish Silver Polish.
Step 2. Wear disposable gloves, if possible.
Step 3. Use make up pads, cotton balls and Q-tips. Avoid using a cloth or rag as they can be too abrasive. More important, people are often too aggressive with a cloth.
Do not twist the candlestick in your hands with a cloth. People often twist the candlestick causing wrinkles or pulling it apart.
Do not pull on the candelabra arms. The arms are very fragile. People often pull the candlestick arms off the center.
Let the silver polish do the work. Do not apply pressure especially to the arms.
Support the arm on a towel as a soft pad while polishing.
Use q-tips for the details. Wood toothpicks will get in the crevices.
Try to polish with your polishing motion in the same direction so the barely imperceptible polishing lines will all be in the same direction.
Step 4. When you are getting to a nice finish, wipe of the excess polish with your make-up pads, or cotton balls. Use q-tips for getting into the crevices. Nothing looks worse then dried up silver polish in the crevices. Wood toothpicks can also be helpful in removing polish from the crevices. and details. Take your time and enjoy the process.
Step 5. Since candlesticks and candelabra will not touch food, after the silver is wiped clean, you are done. Do not wash.
Look at the storage suggestions below for more information about storing your silver.
professional polishing of Silver
Have your silver professionally polished.
I can do a much better job polishing silver than you can do at home.
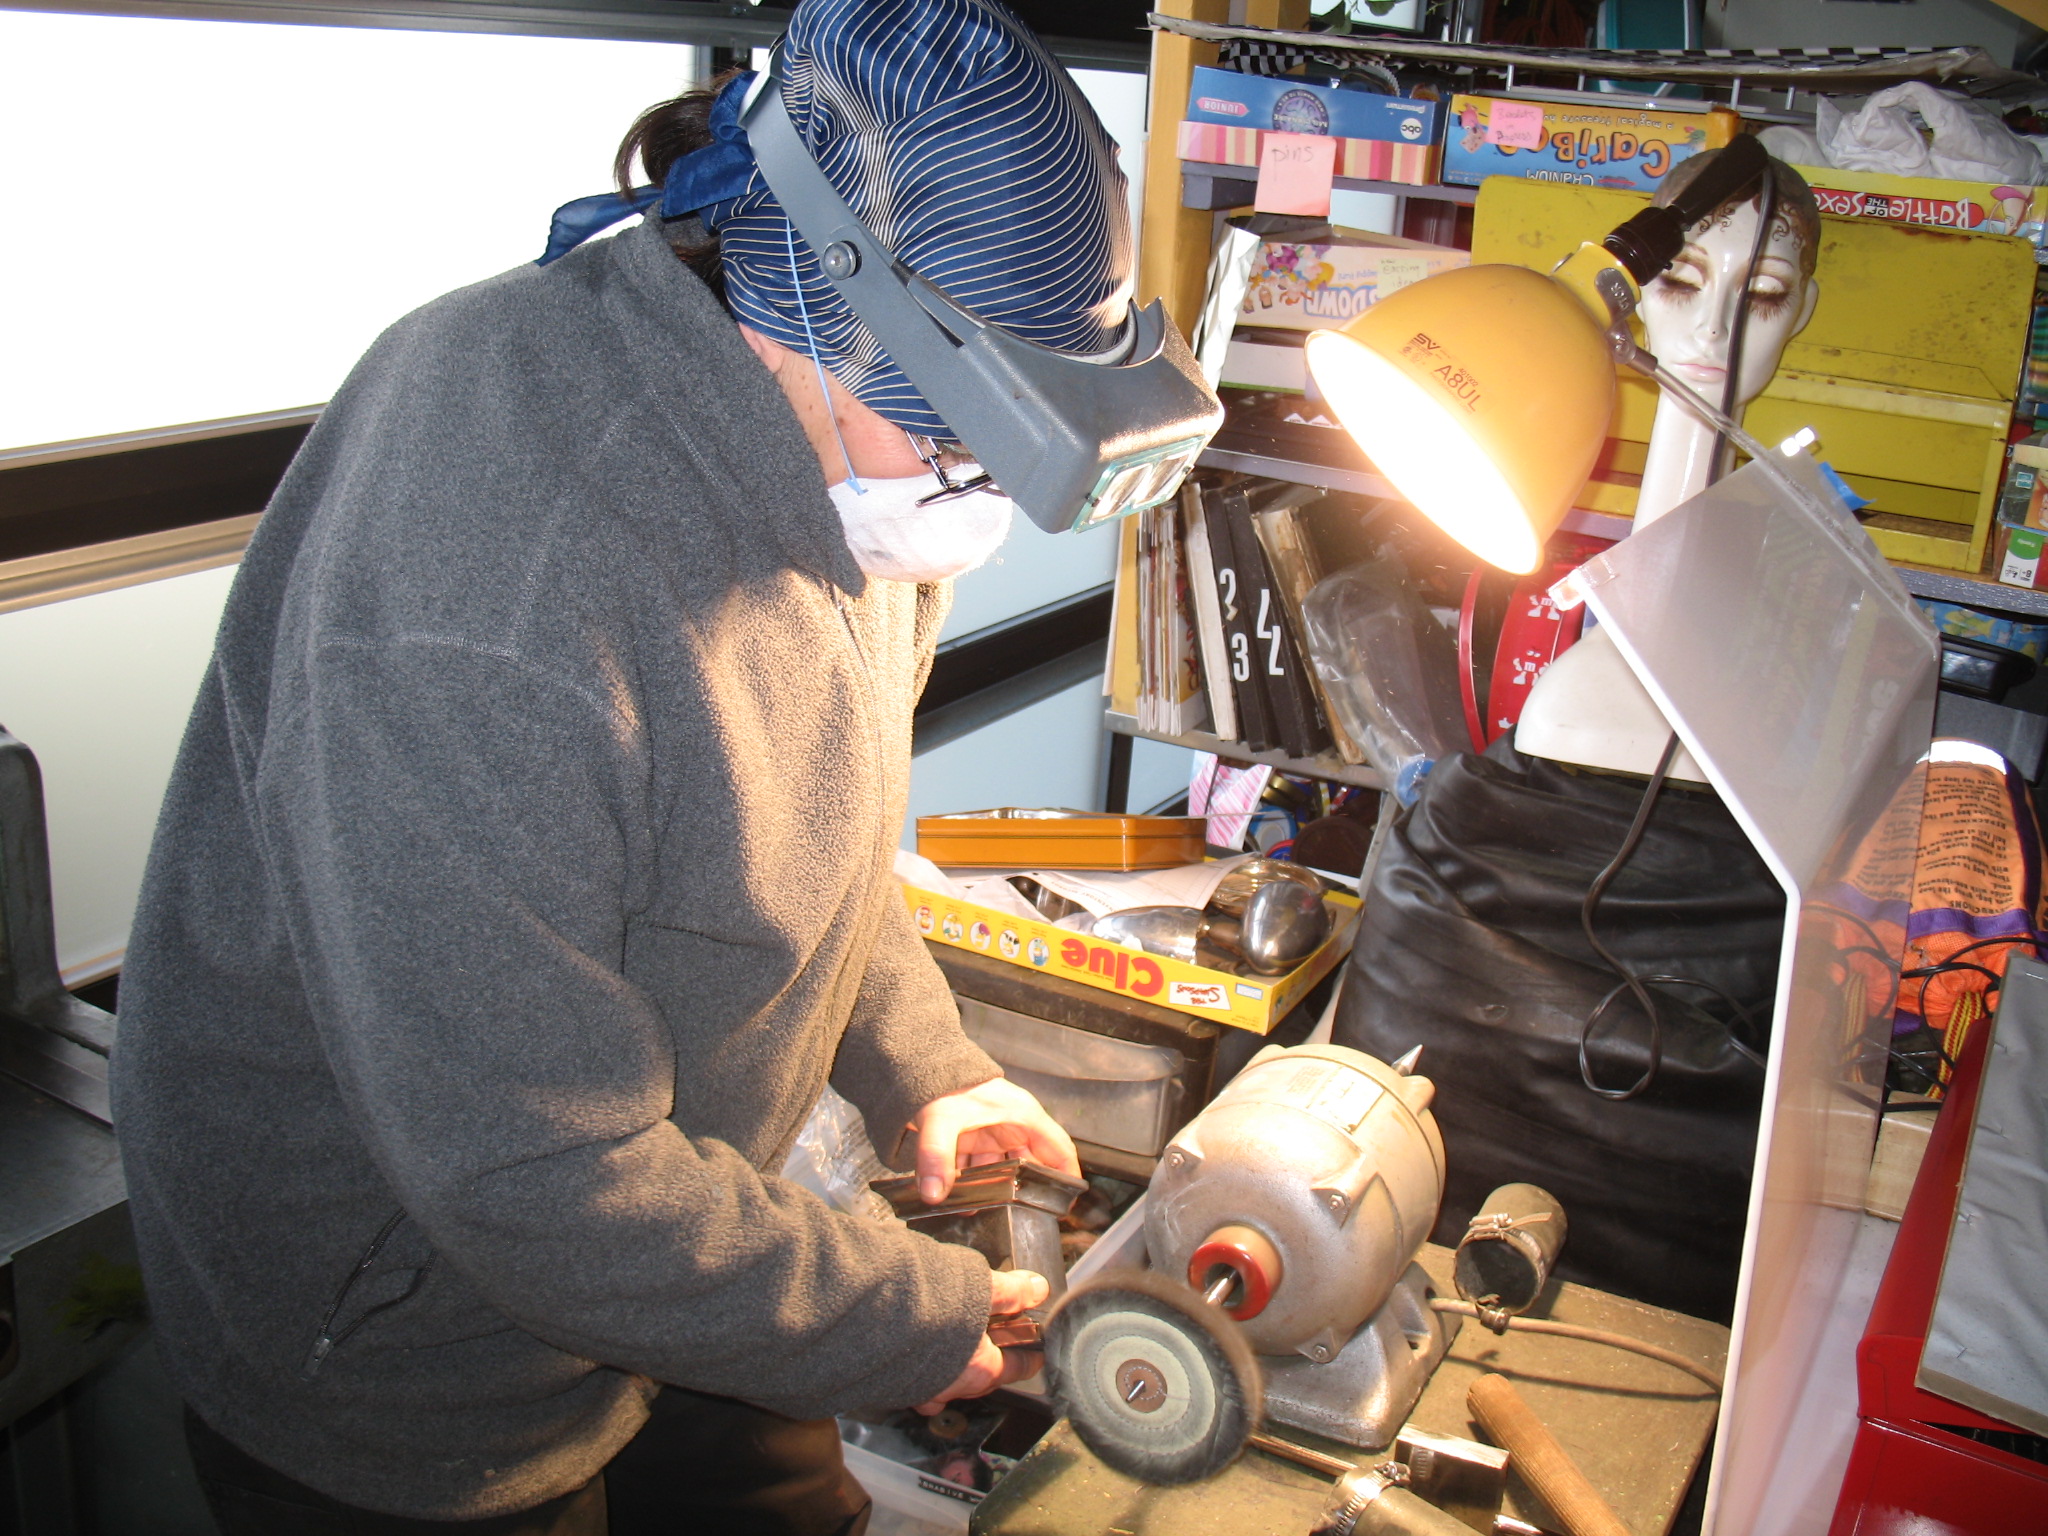
Each piece of flatware or hollowware is polished one at a time with a buffing machine. The polishing wheel is rotating at 2750/5,000 RPM. A buffing compound is applied to the buffing wheel. This is a hard, dangerous, dirty work.
Never try this at home. This is not a D.I.Y. activity. The polishing wheel can literally pull the object right out of your hand. Safety glasses and a dust mask are a minimum for protection.
Prevent Tarnish on Silver
Sterling silver and silver plate will always tarnish, but there are a number of ways to reduce or slow the oxidation.

USE SILVER POLISH WITH A TARNISH PREVENTIVE
Hagerty Silversmith Polish and 3M Tarni-Shield Polish both prevent tarnish for items on display. Every time you use your silver, it has to be reapplied for the tarnish preventive property's.

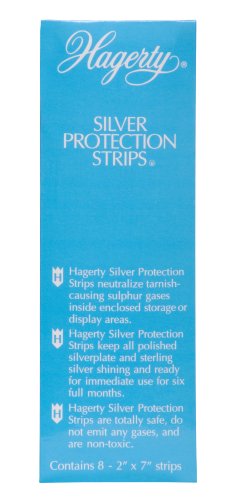
SILVER PREVENTION STRIPS
Hagerty Silver Protection Strips or 3M Silver Protector Strips work well in a closed cabinet, case or drawer. Place them in a glass display cabinet with your silver and the amount of time between polishing will be significantly reduced. A tarnish prevention strip doesn't last forever. I add a new strip every 6 months or so.
Writing the date on the back of the paper strip helps you remember how long it has been since it was replaced.
Silver storage recommendations to prevent tarnish:
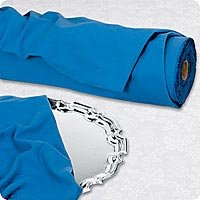
Store sterling silver or silver plate hollowware in treated silver cloth bags.
Hagerty Silvercloth Bags come in a variety of sizes to protect your silver from tarnish.
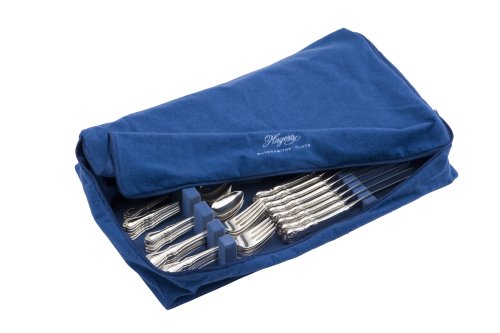
Store silver flatware (forks, knives and spoons) in a Hagerty zippered silver cloth drawer liner. This fits conveniently in a drawer but keeps your flatware accessible.
Making your own silver cloth bags is the most economical and effective storage method lasting at least 20 years or longer.
Purchase Hagerty Silver Cloth by the yard. 58" wide
Purchase Pacific Silver Cloth by the yard. 38" wideNEVER store sterling silver or silver plate in Saran Wrap, plastic bags, bubble wrap or use rubber bands. These materials "outgas" leaving permanent marks and permanently ruin silver plating.
The least expensive option storage option is Ziploc® polyethylene bag bags with either 3M Silver Protection Strips or Hagerty Silver Protection Strips in the Ziploc® bag.
The Hagerty Silver Protection Strips also work in a closed cabinet that displays your silver.
LAQUERING SILVER
I do not recommend lacquering silver to prevent tarnish. Over time the lacquer yellows and discolors, then your silver no longer has the glimmering sparkle of silver. In addition, even the smallest scratch in the lacquer allows the silver to tarnish. So then, you have dark scratches of oxidized silver, combined with yellowish areas. Not an attractive combination in my opinion.
Another problem is that when silver is lacquered you can not polish it yourself.
If your silver is lacquered, and looks poorly as I described above, I can remove the lacquer and polish your silver for you. This is twice to three times the work of polishing. Another reason not to lacquer your silver.

RENAISSANCE WAX
Items for display only can be polished and then micro-crystalline Renaissance Wax can be applied. Renaissance Wax is used by museums for their silver on display. It does not hurt your silver, and your silver can be used any time. However, after use the Renaissance Wax would have to be reapplied.
Applying the Renaissance Wax is easy, but takes time. This is why I only recommend it for silver on display. Just apply the wax with a soft cotton ball, or make-up pad. As soon as it starts to dry, rub off the matte waxy appearance with a clean soft make-up square or make-up pad. Buy the small container of Renaissance Wax (65 ml) as it lasts a long time . The large container of Renaissance Wax (200 ml) would be suitable if you were going to use this for a large collection or larger items. Renaissance Wax can also be used for brass, bronze, marble, etc.
Renaissance Wax does not completely eliminate tarnish, but slows down the oxidation considerably. Any time you want to polish your items, just polish and reapply the wax.
Never wrap silver in Saran Wrap
Never wrap your sterling silver or silver plate in Saran Wrap to prevent tarnish. Saran Wrap out gases and leaves marks on sterling silver. Saran Wrap on silver plate will actually cause irreparable and permanent damage to silver plate. You can see the marks left by Sara Wrap in this sterling silver tray below especially where the reflection of my phone and hands provides dark contrast. Only because this was sterling silver, I was able to remove these marks. You can see the tray on my Polishing page.

Care for silver Teapots and Coffeepots:
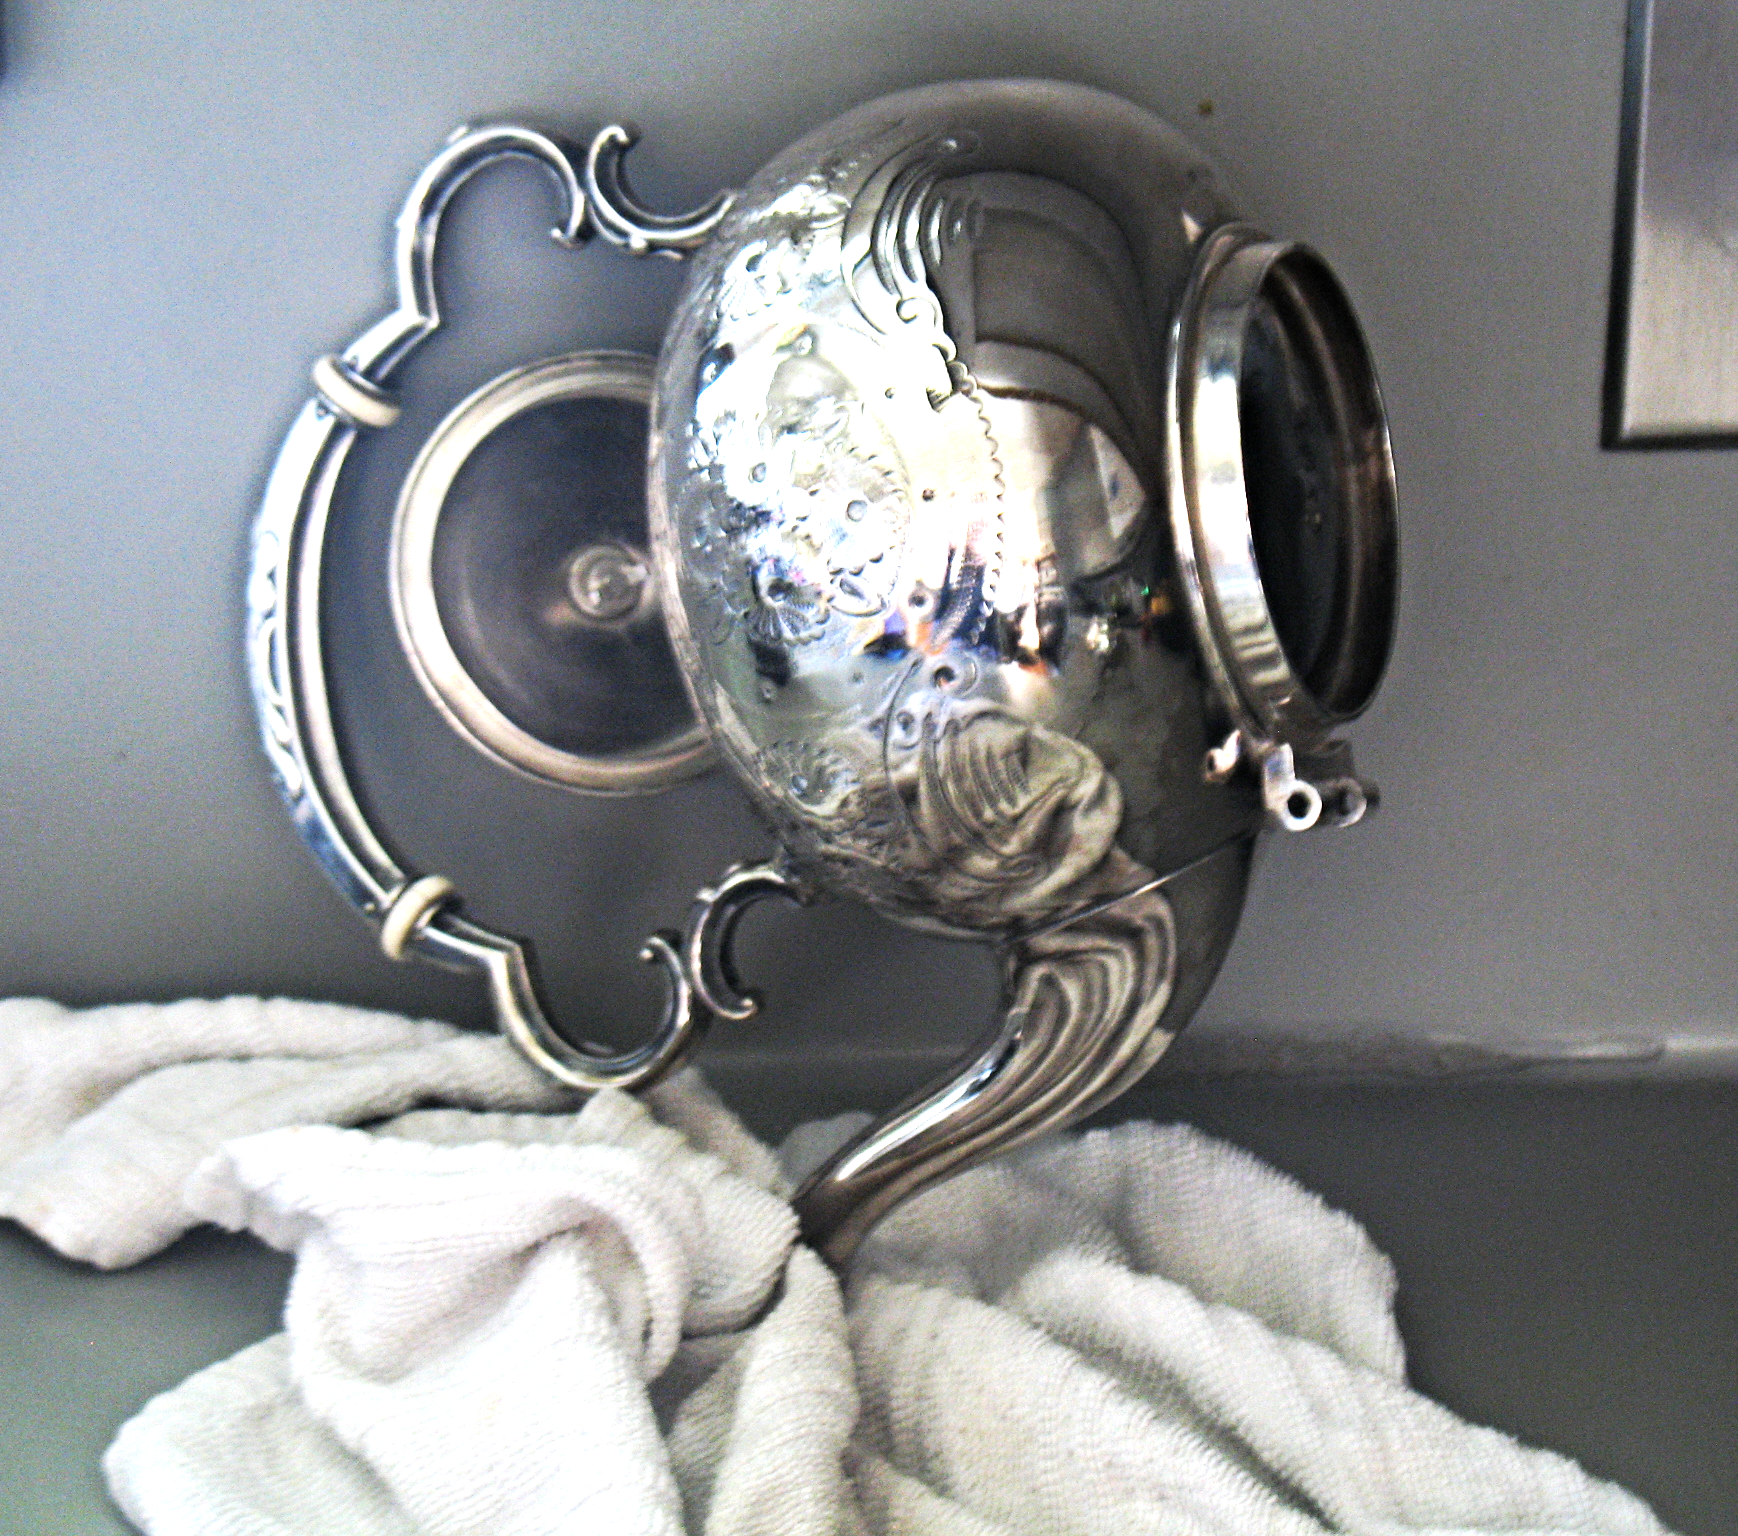
After using your sterling silver or silverplate teapot or coffeepot it is important to dry the inside completely before storage.
Turn upside down (and prop it up) so any remaining water can drain through the spout.
Let it stand upside down over night before putting it away.See the image (right) as an example.
Do not try to put your hand inside the coffeepot or teapot. This can break the hinge or stress the hinge so the lid will not close.
Avoid Garbage disposal damage
The best way to avoid garbage disposal damage is to stop using your garbage disposer.
Garbage disposal debris creates potential clogging of your household sewage pipes, and problems for your local waste water management. It is far better to either compost your green kitchen waste or use the green waste management (if provided in your community.)
Place a screen over your garbage disposer hole to avoid letting your silver falling in the hole.
If your silver goes into the garbage disposer I can fix it.
I can repair flatware that went into the garbage disposal doing the best possible job to reshape the fork/spoon making it usable and attractive. Superficial damage can be removed and polished.
Deep chew marks may still be slightly visible after the repair. Usually, I will fill deep gouges with sterling silver using my state of the art high tech welder. This takes more time but the results are far superior preserving the thickness of the flatware.
You can see example of garbage disposal repairs on my website.
Contact me for an estimate.